< Back | Github repository | Project page on Hackaday.io
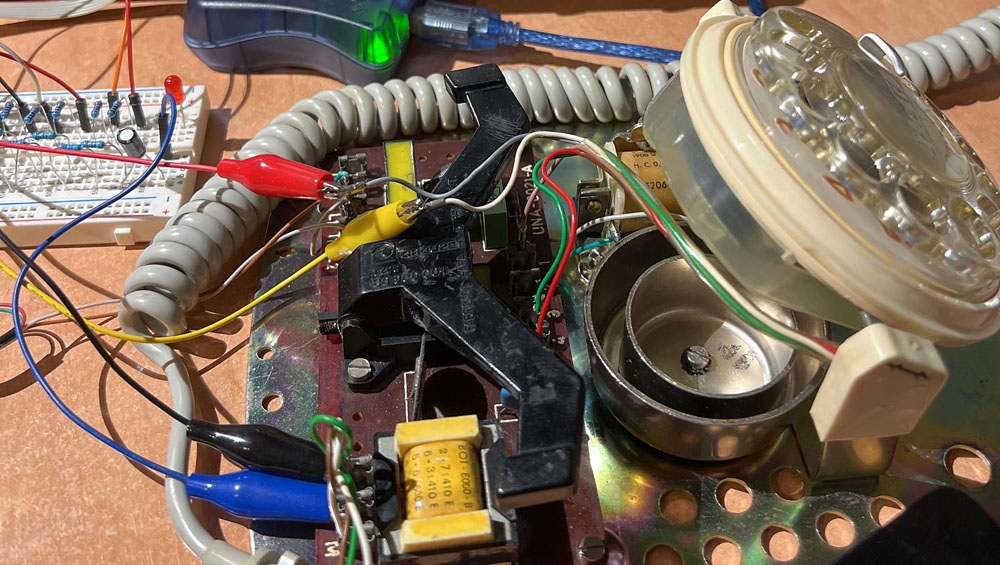
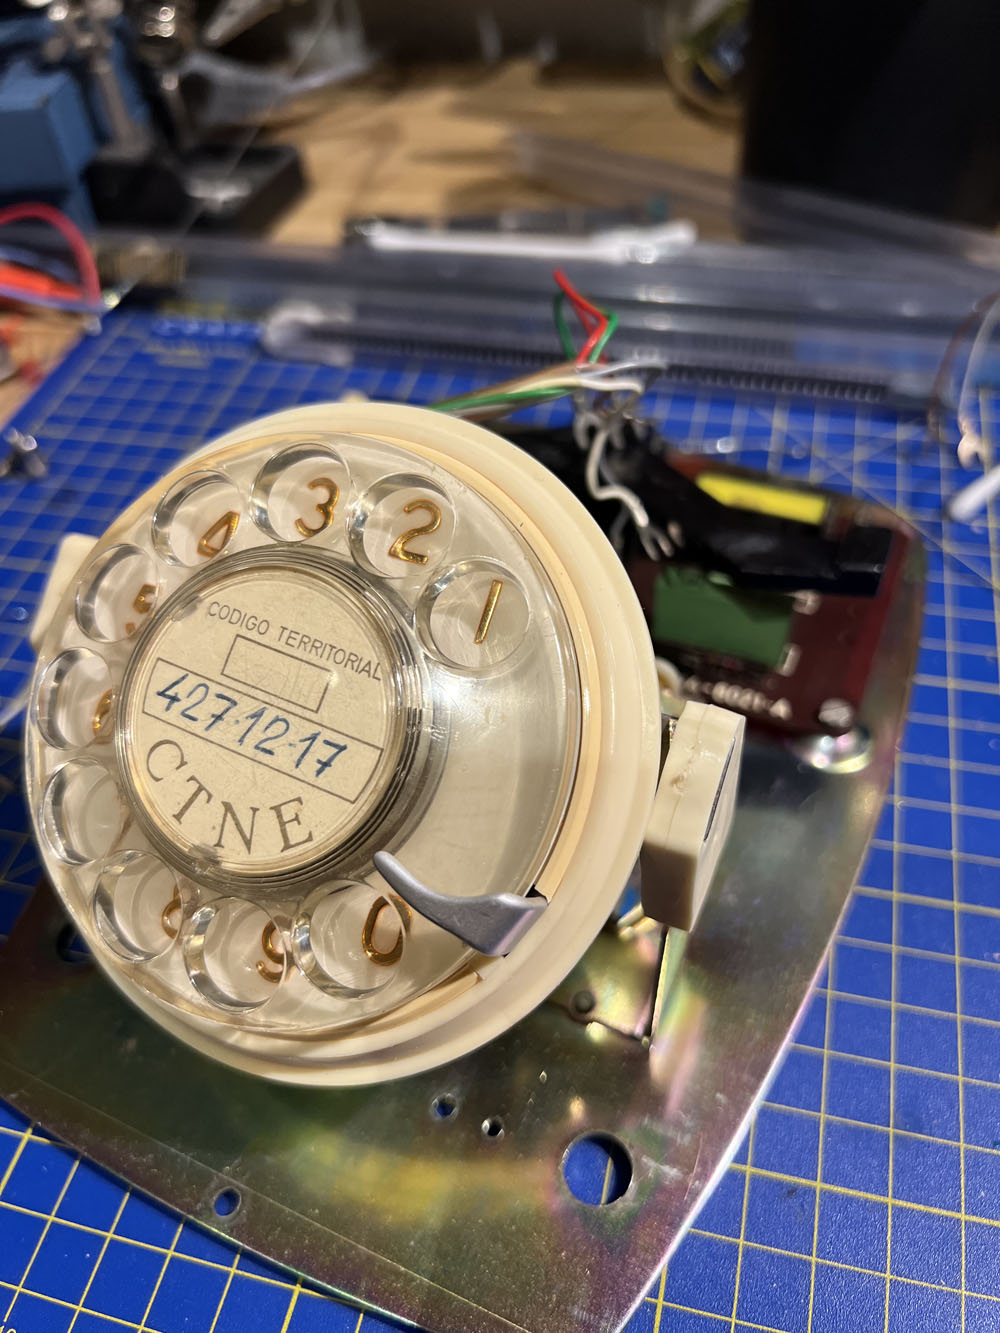
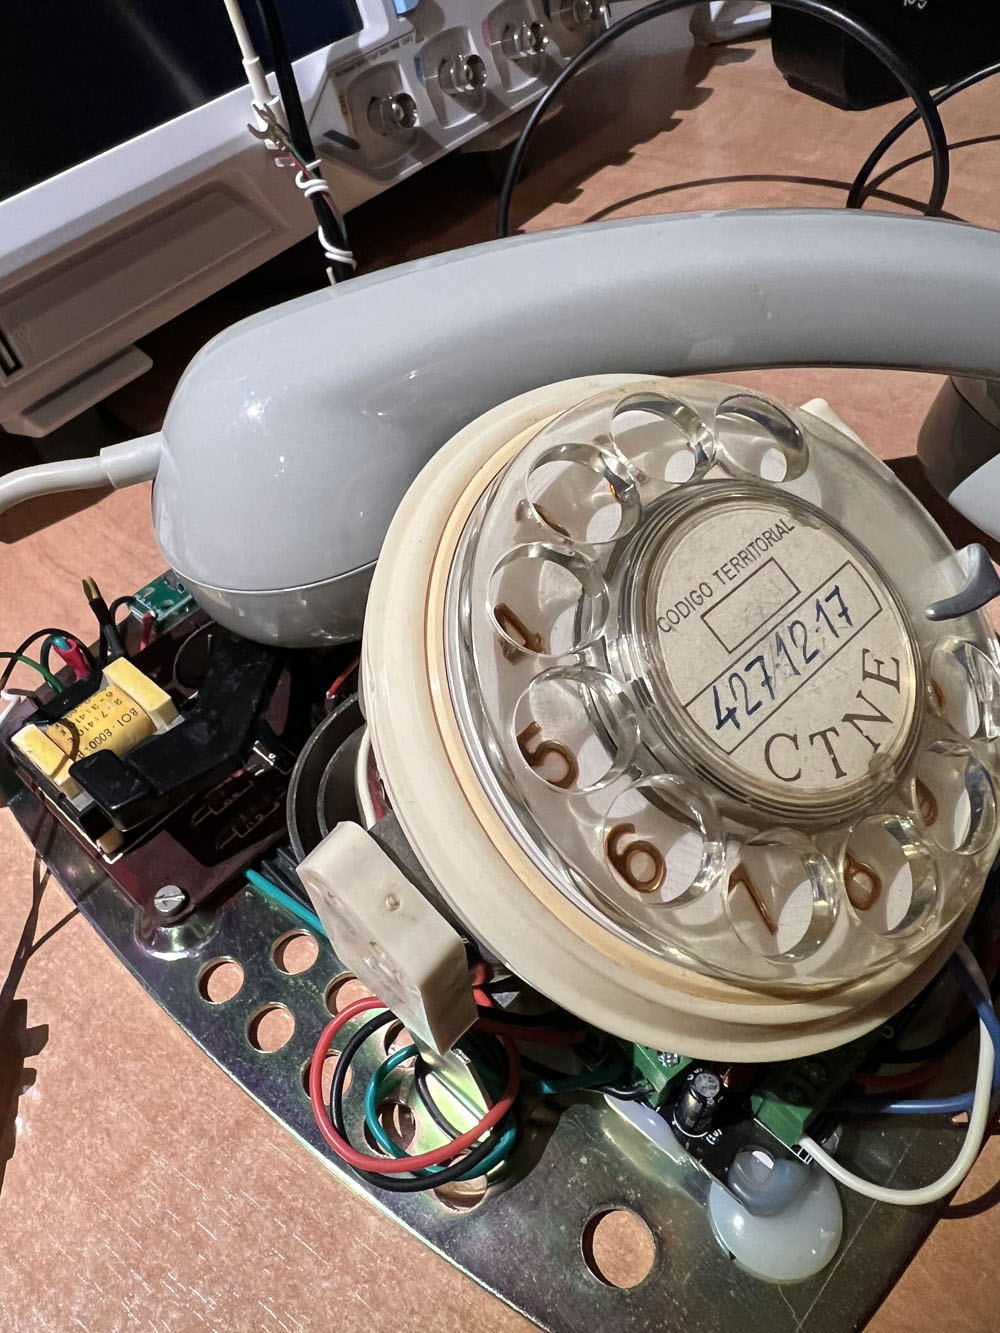
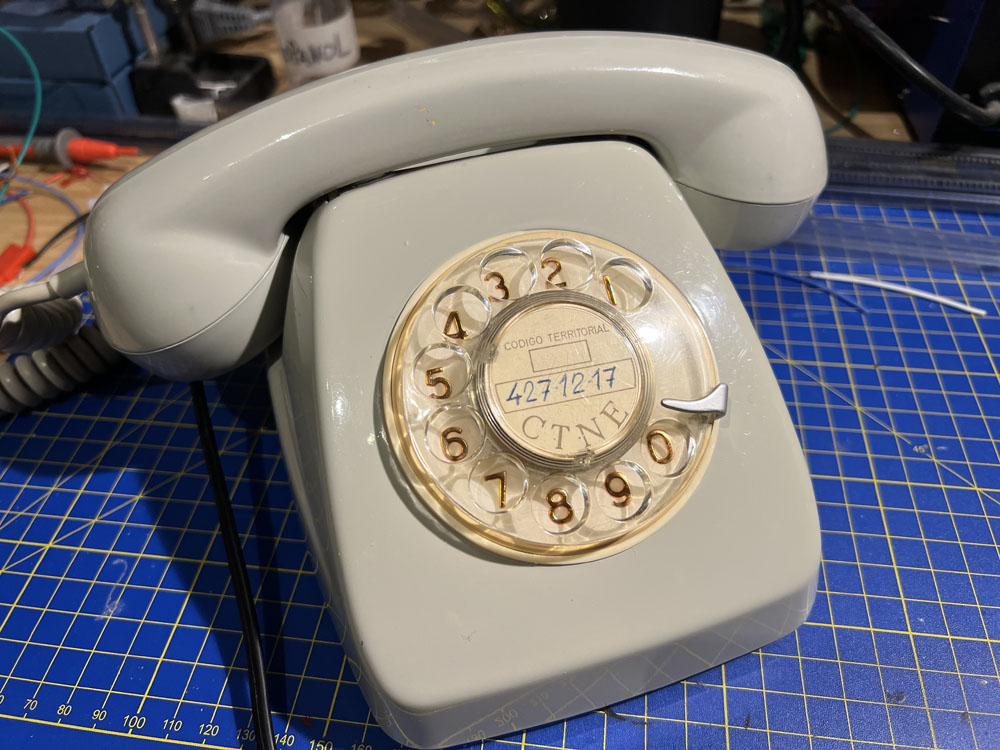
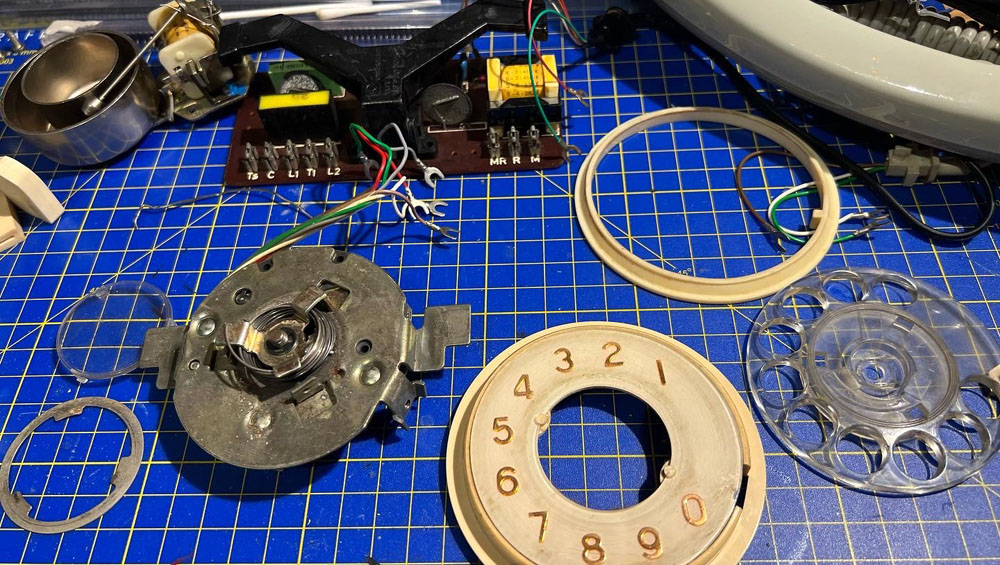
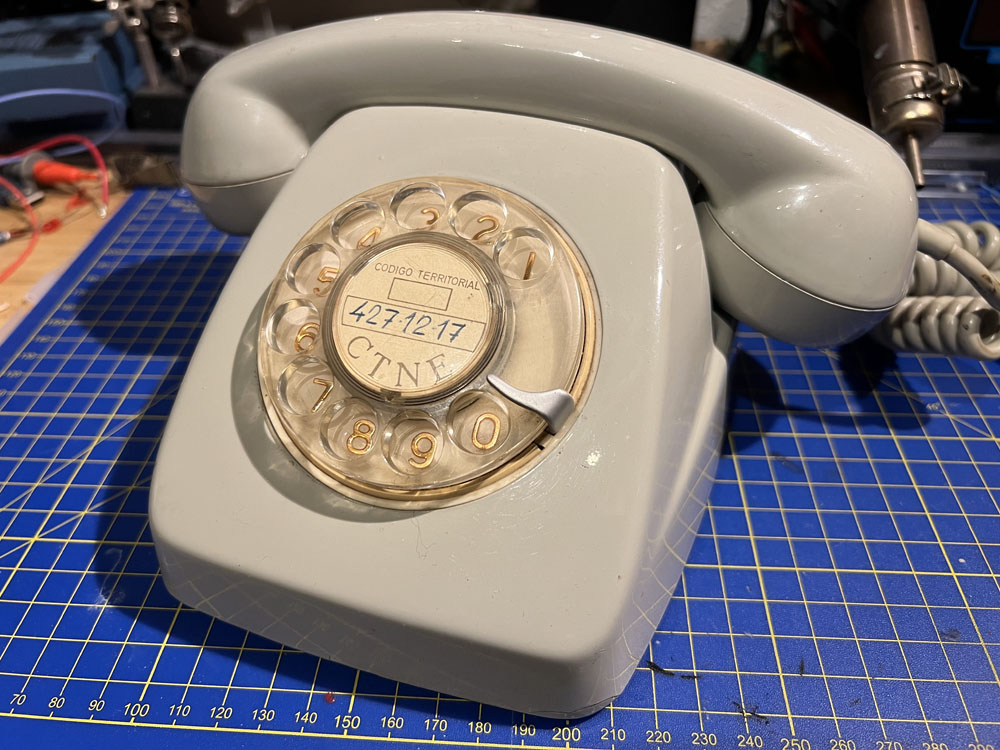
Few months ago I got one of those old analog dial-based phones (the ones with the "rotary thing" that uses a pulse dialing technique to transmit the numbers across the phone line). After some cleaning and minors fixes it became fully functional again (need to replace a broken microphone, for the record), except for the fact that I could recieve calls but I couldn't make them.
The reason wasn't a broken device but it's own old pulse dialing tech (remember that nowadays everything goes under Dual-Tone Multi-Frequency signaling).
Even if most of the main modern phone lines still support pulse dialing (not actually sure how consistent this compatibility is), the average domestic optical fiber router doesn't. Therefore, even if I could dial up to some destination, chances are the receiver wouldn't even support my ancient dialing method, so if we were dealing with one of those answering machines ("press 1 for whatever option") it would became useless again.
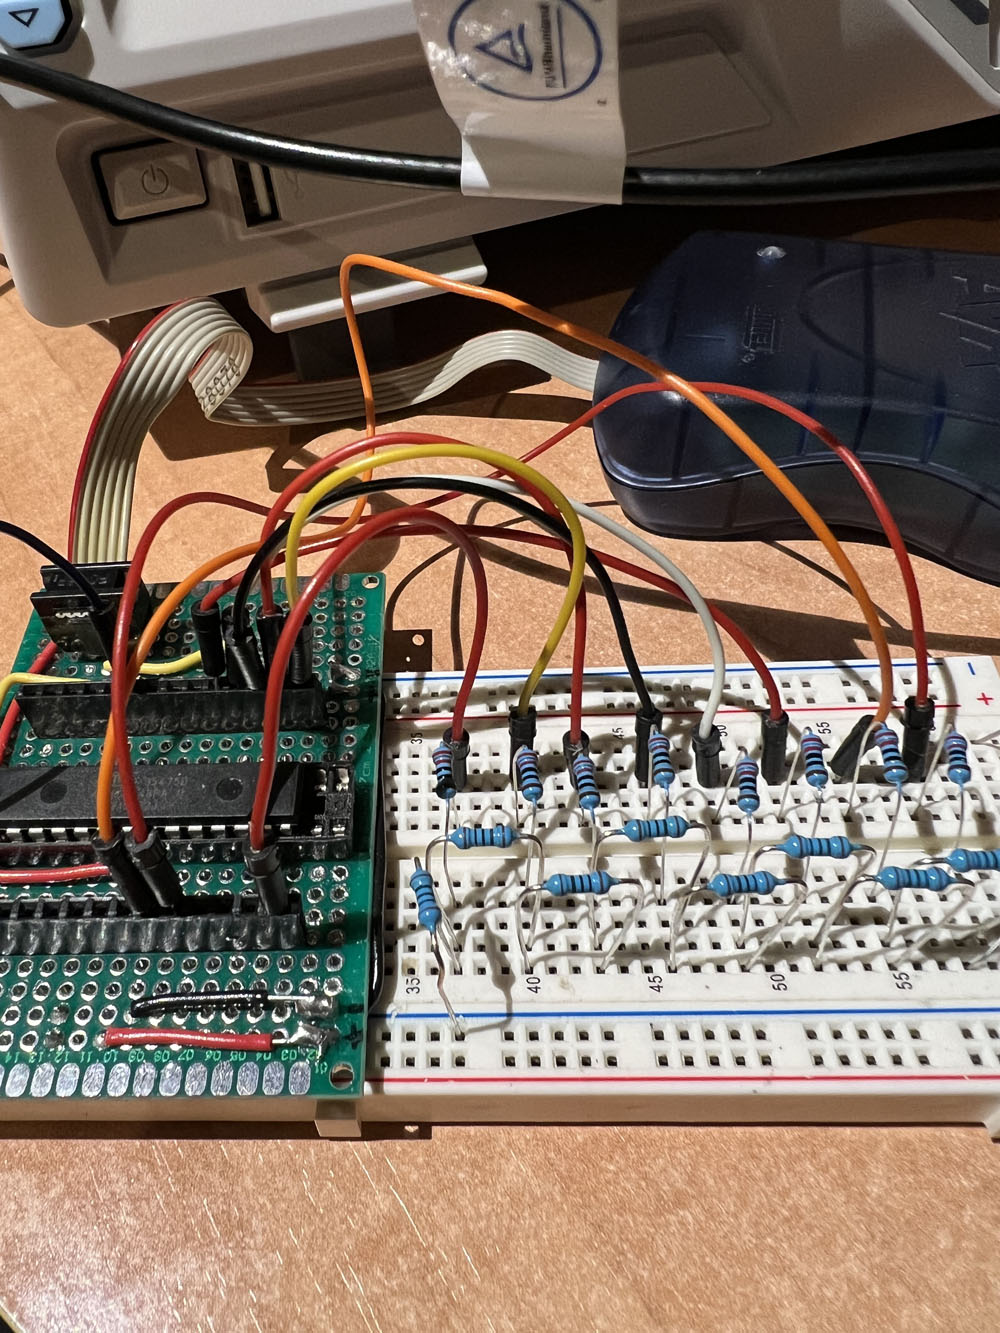
There are some workarounds over this problem out there, but I decided to go with my own AVR-based solution: an atmega48p capturing the rotary dial pulses and generating the proper DTMF tones using a DAC converter made with a R-2R resistors ladder.
To be honest, I didn't think about PWM on the AVR micros in order to output the desired pair of frequencies (this post talks about it with a cleaner approach); instead I took this idea for DTMF generation on Arduino boards and ported it to my atmega. After some changes and adjustments (and lots of reading about wavetable synthesis, a topic which I knew absolutely nothing before starting - check this video from WolfSound and the extended article with more theory and info) I ended up with a "magic box" I could hook up to the phone line to dial whatever I want.
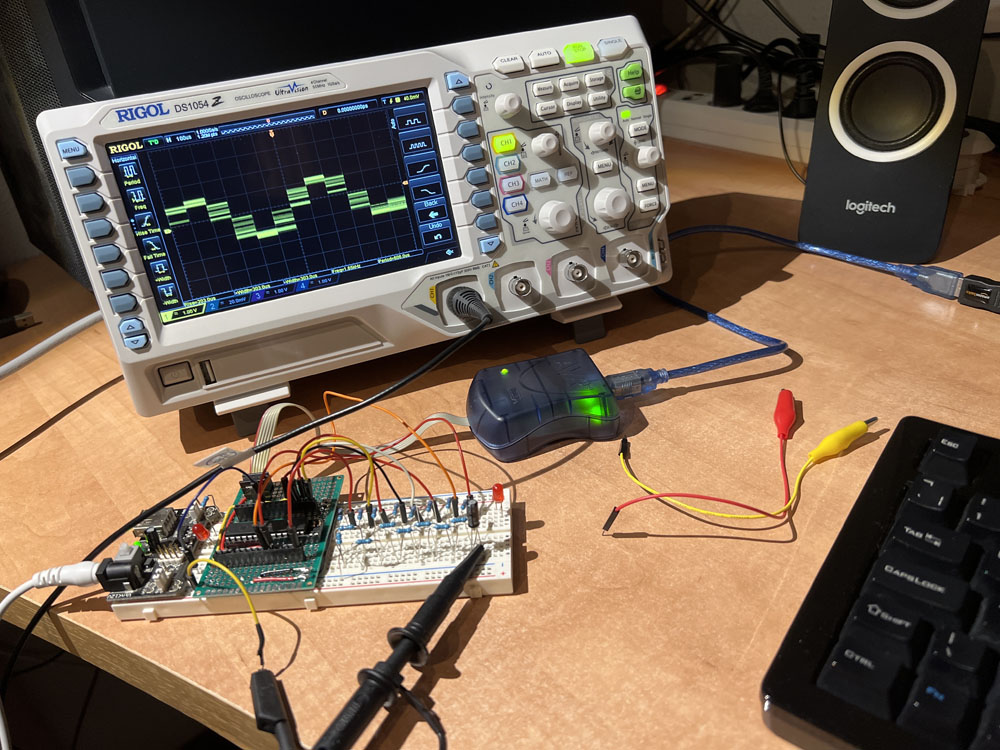
After that, it was "only" a matter of counting the numbers on the rotary thing when dialing (there're plenty examples out there, usually the most important thing when dealing with those switches is the debouncing time for proper reading - I based my implementation on this small snippet already available there) and writing the proper software to control everything ("reading numbers" + "injecting numbers onto the line").
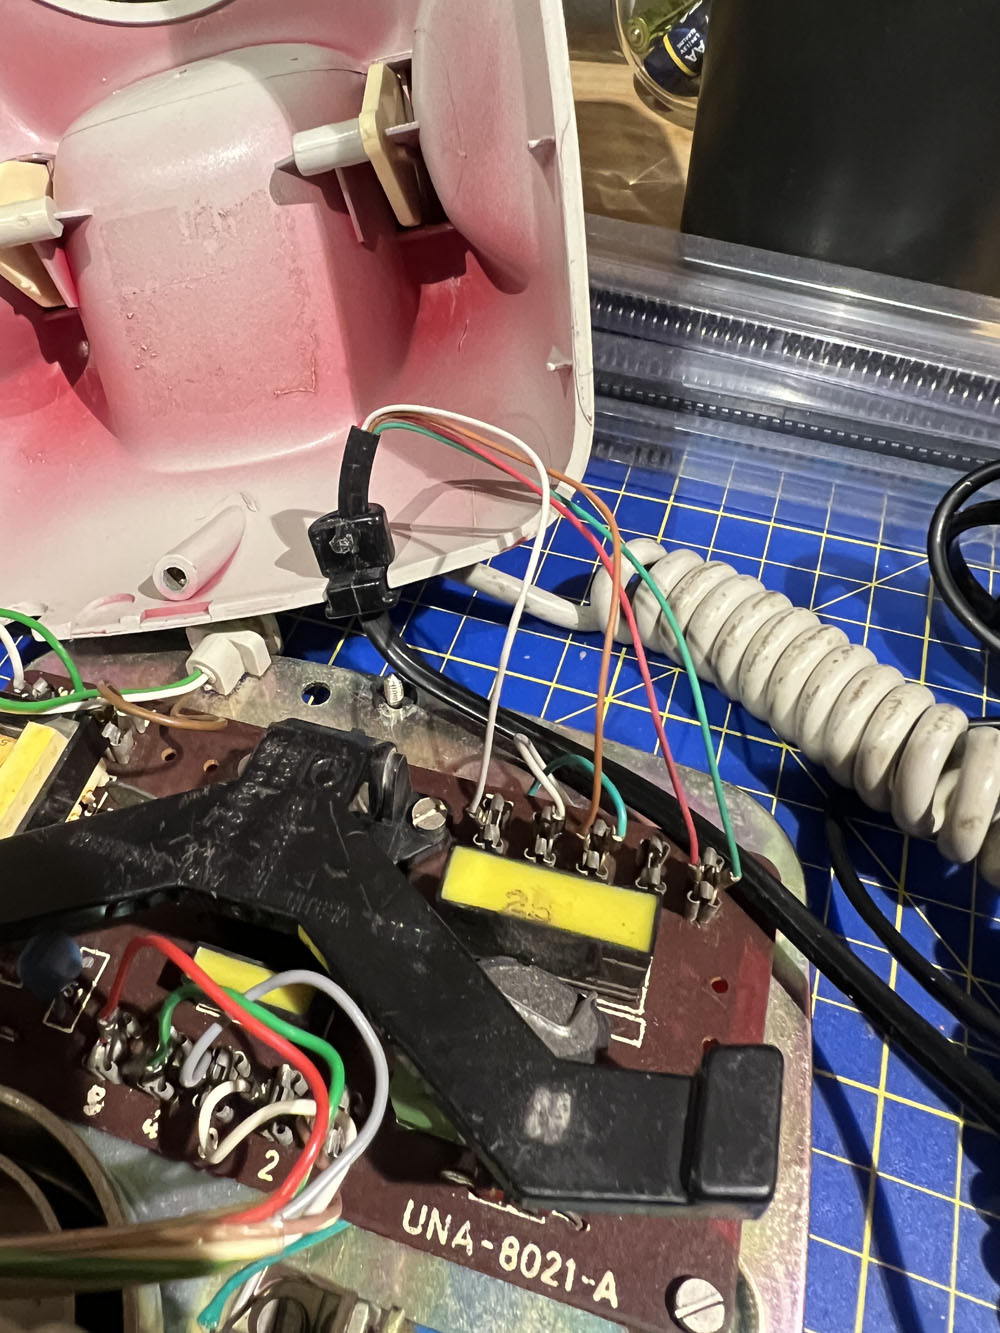
I also glued a small microswitch near to the main "hanging switch" to detect whenever the phone is "grabbed" or "released" in order to manually open/close the line (this could probably be done by other means, such as hooking up to some internal phone circuitry, but I wasn't sure how to detect it and a simple extra switch was more than enough).
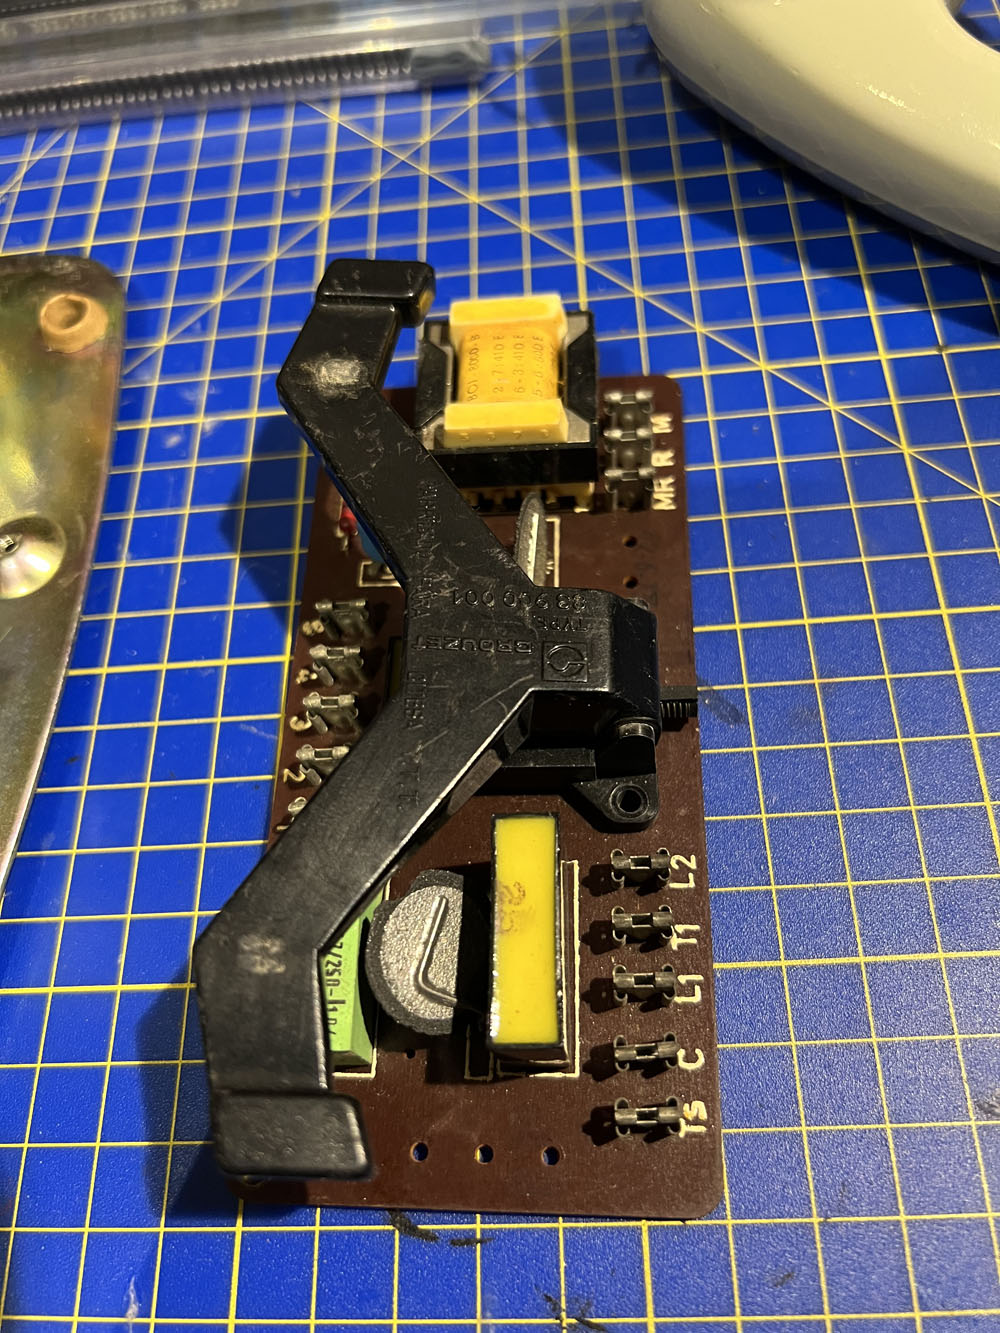
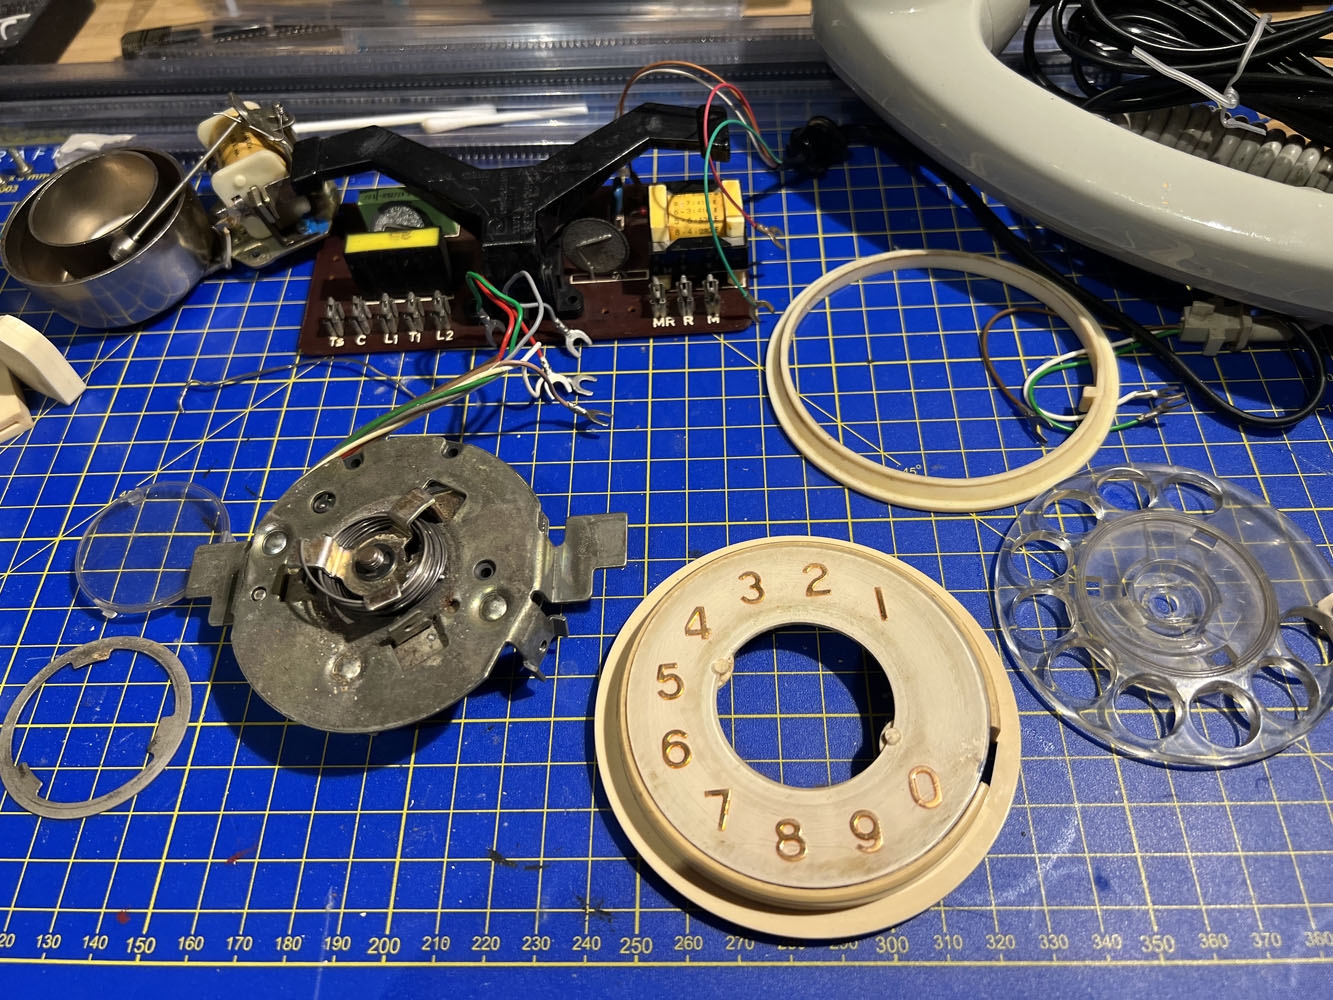
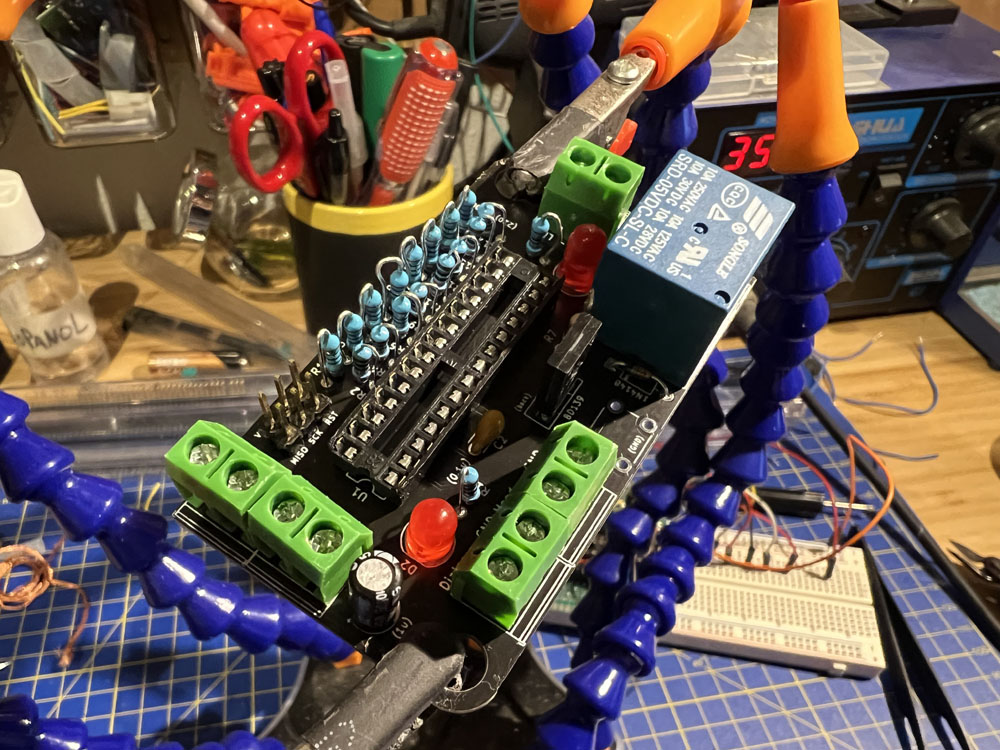
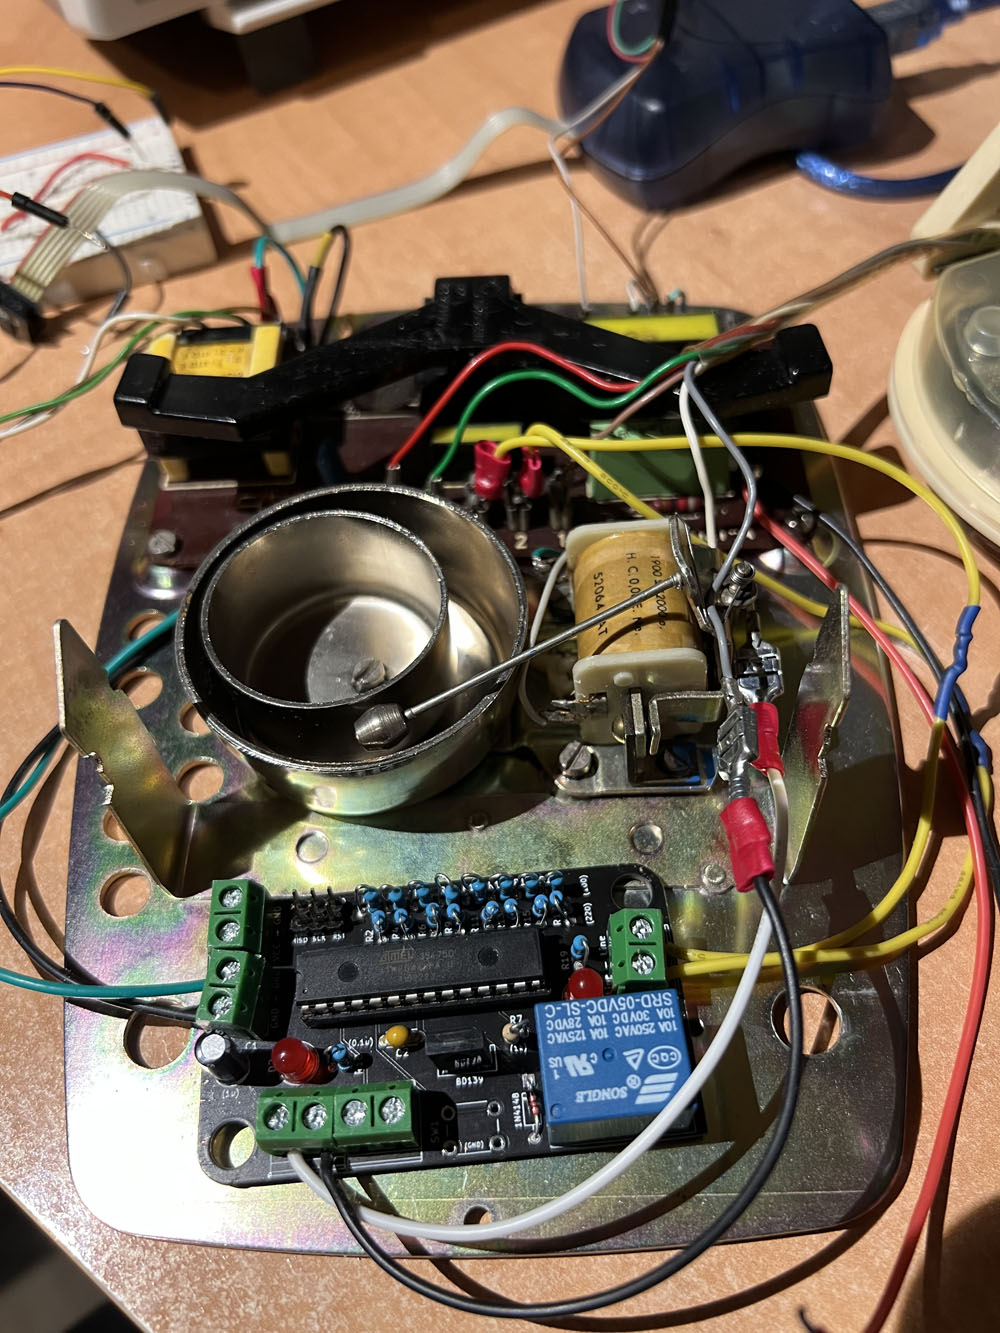
With all those elements in mind, I soldered the first prototype:
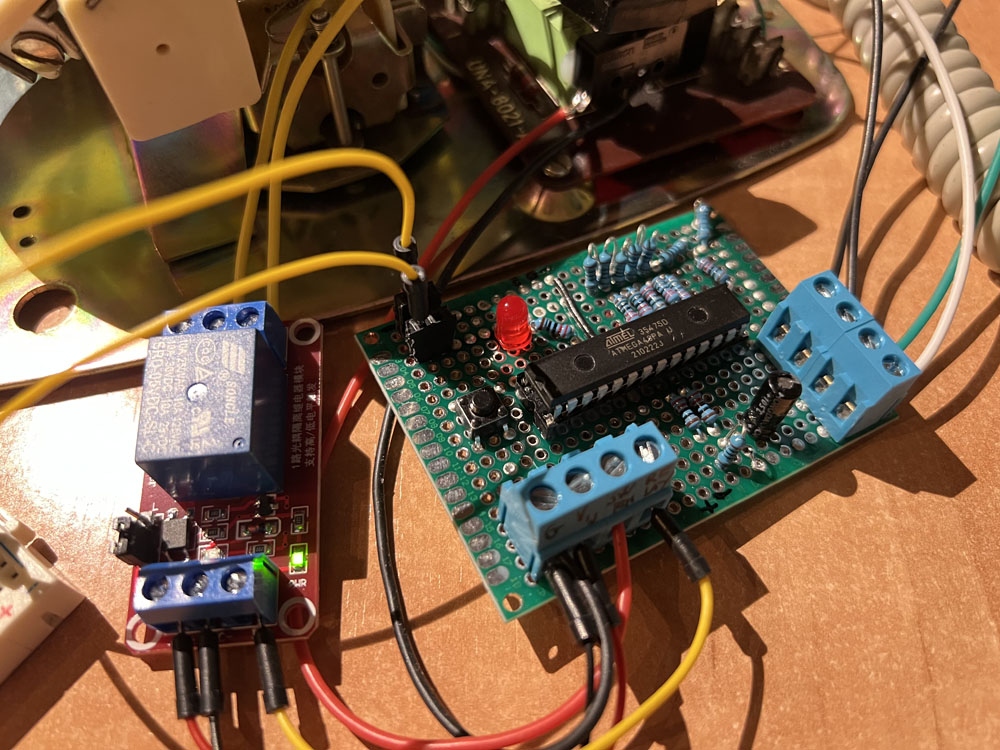
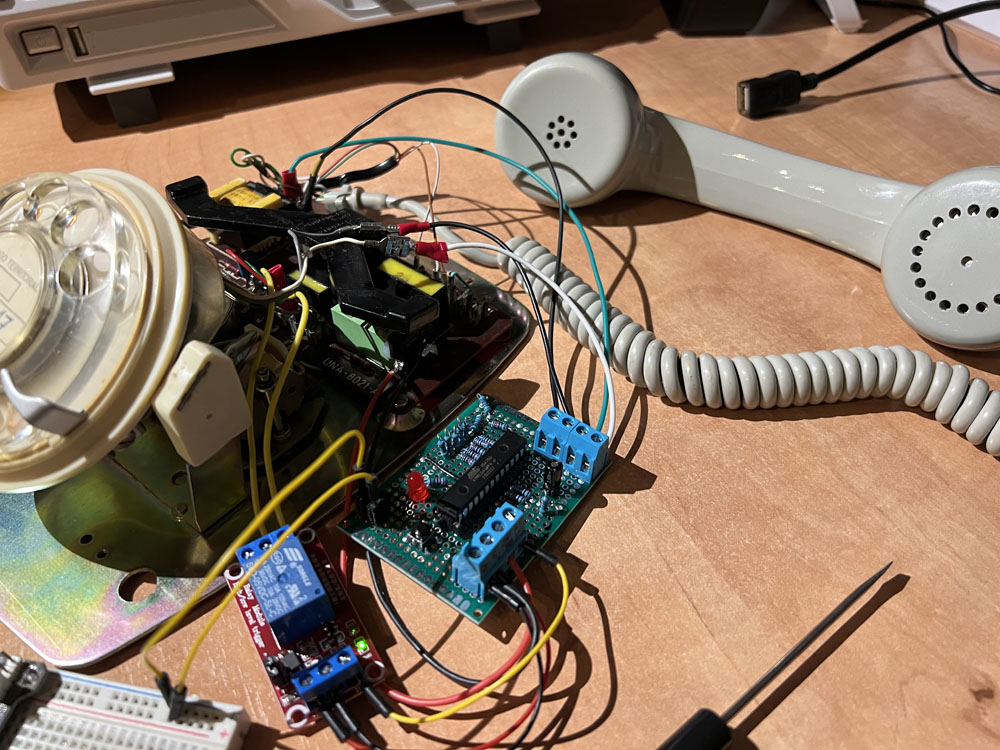
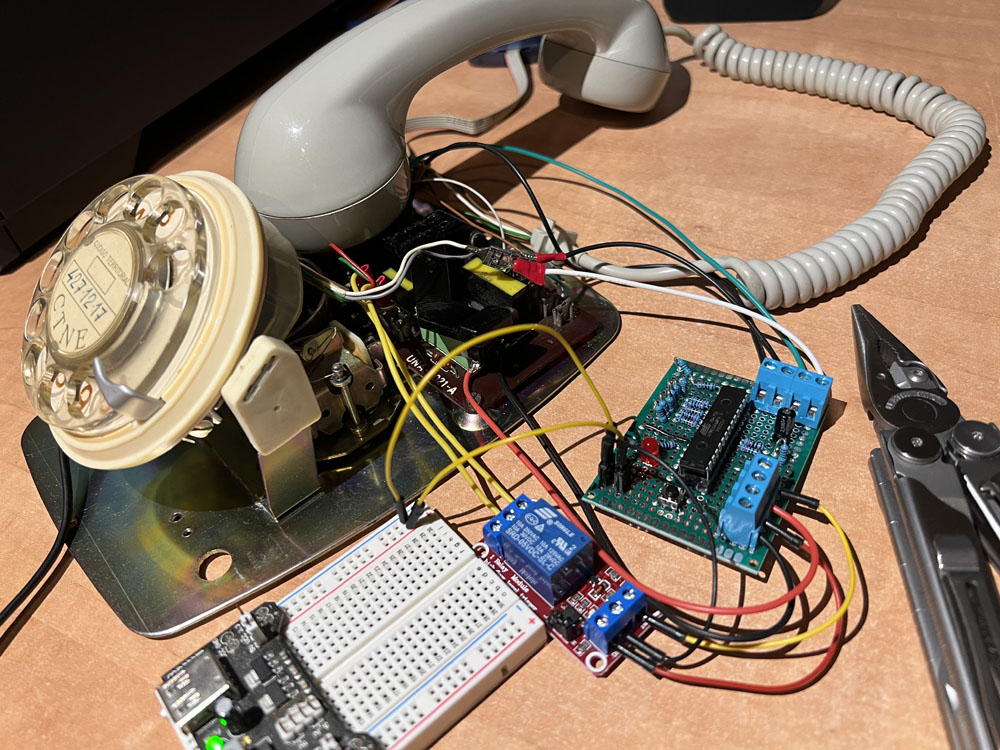
Notice there's also an external 5v relay module to control the line open/close contact (maybe a little bit too much for that...). This contact was previously attached to the dial piece, but since now it's wired to the micro I'm "manually" controlling it by opening/closing the relay according to the firmware logic (also the line remains closed if the main "hanging switch" is pressed, so even if the micro wants to "open the line" it won't be able to do it unless someone "grabs the phone" - which will also lead to the internal microswitch to be released too!).
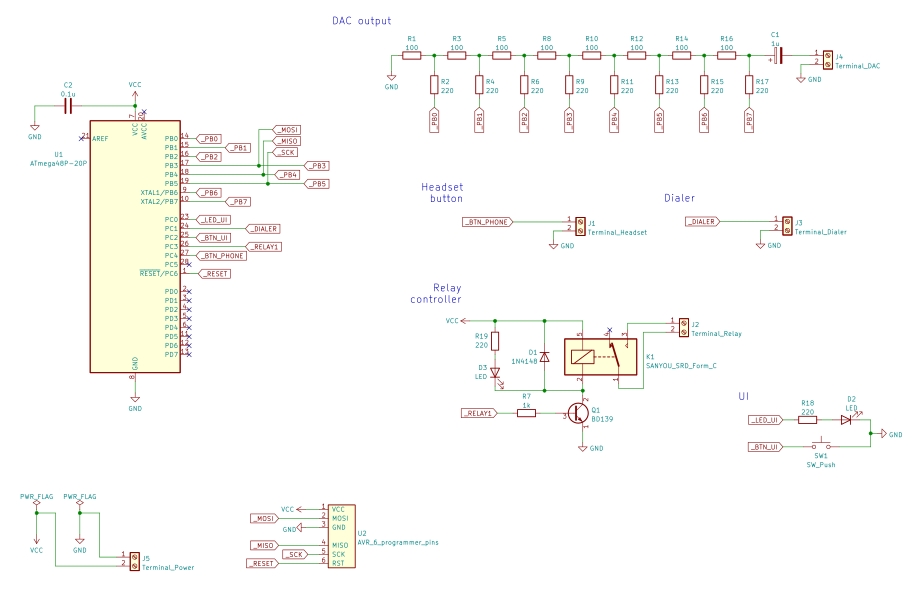
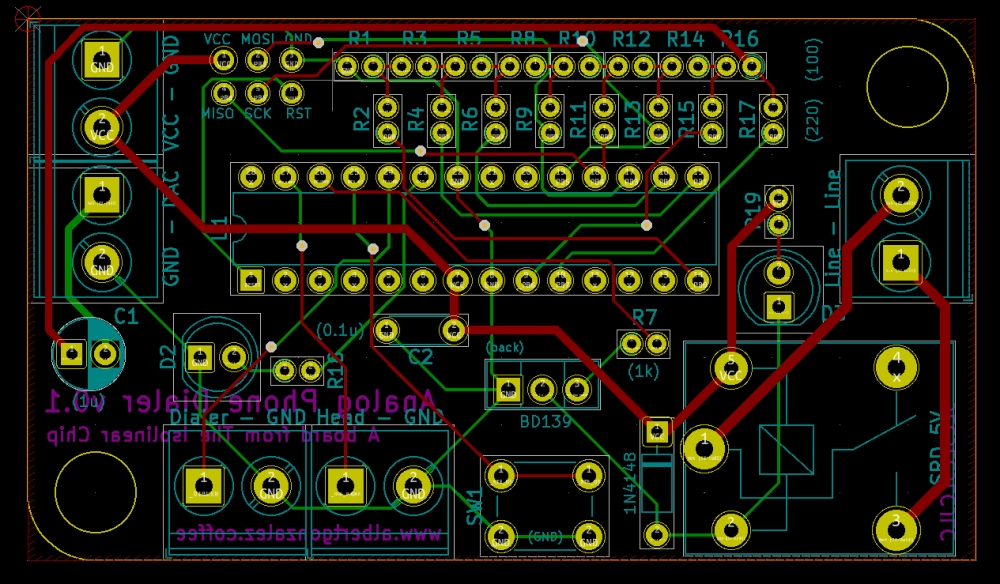
The final schematics looks like this (click to enlarge):
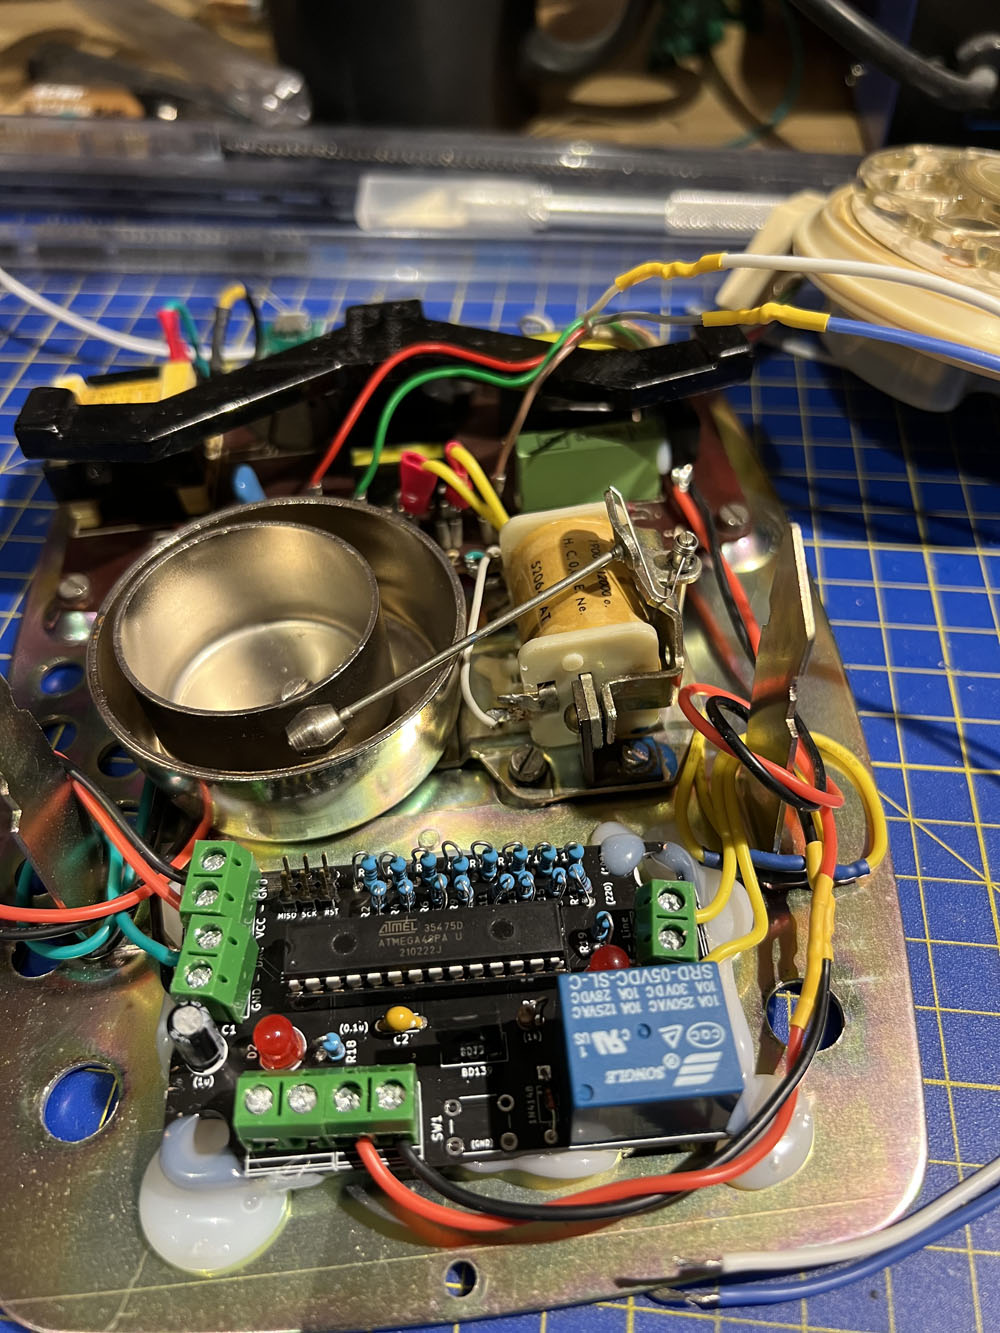
With that in mind I designed a small board with everything inside (small enough to be fitted inside the phone):
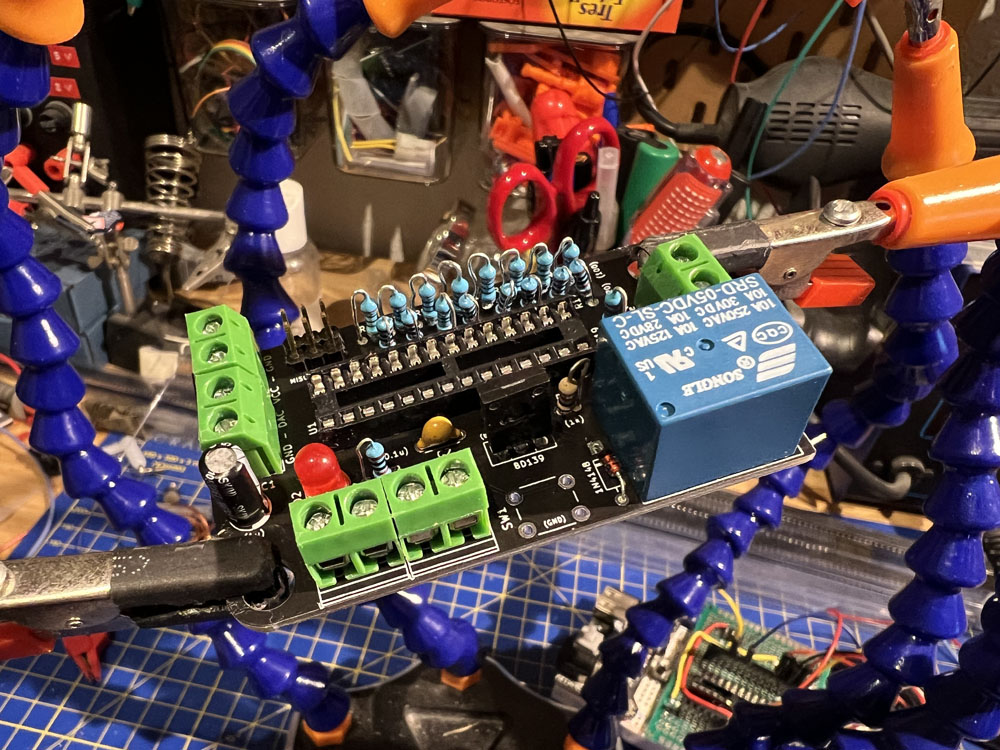
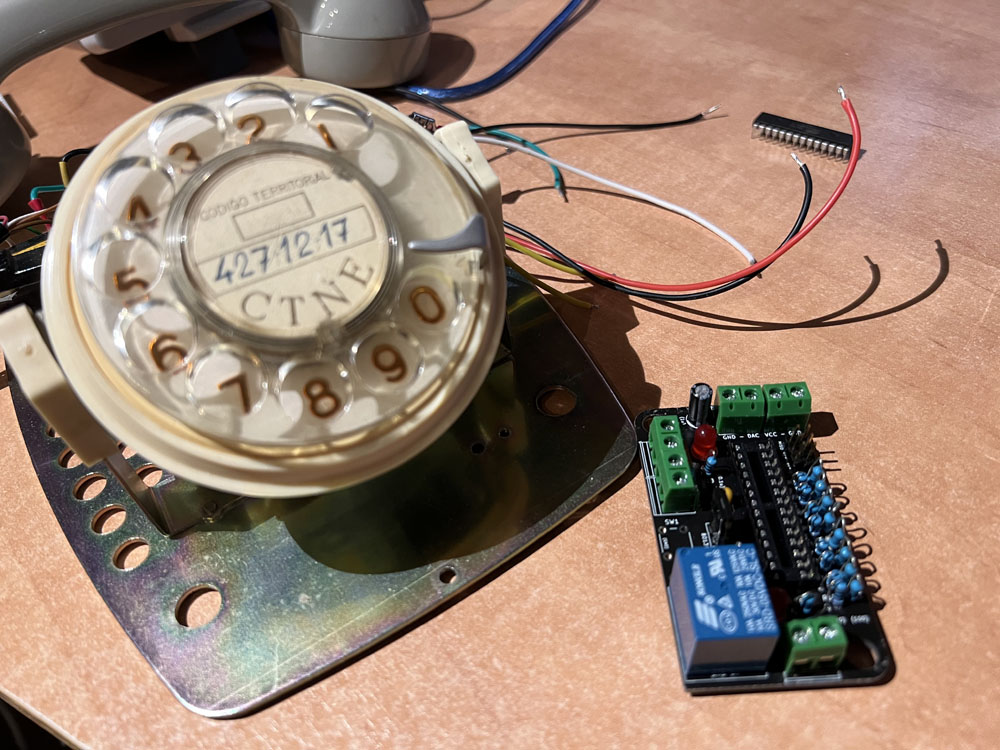
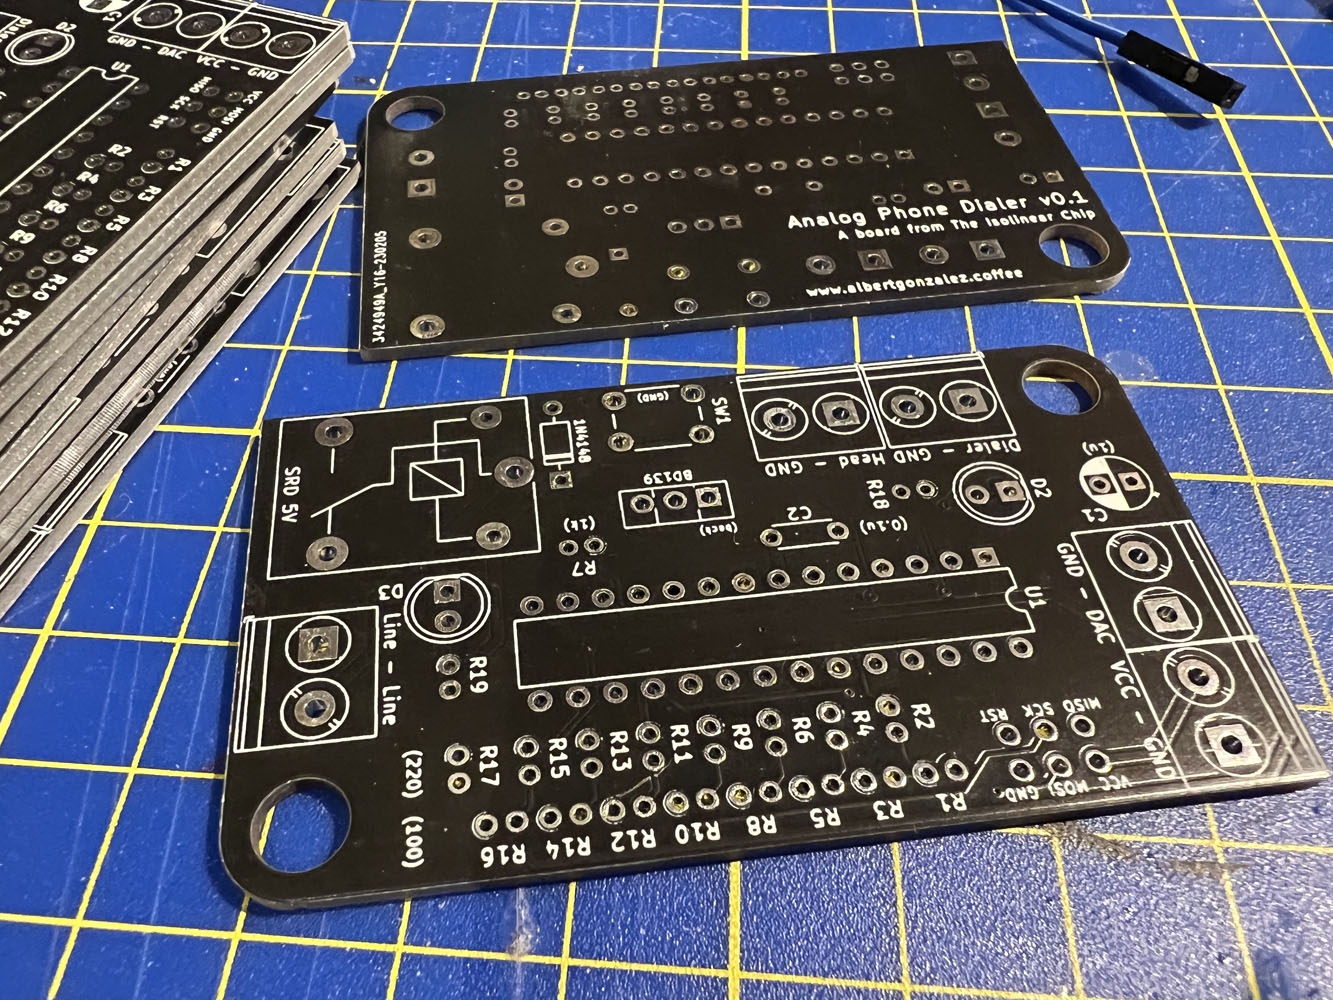
My initial idea was to screw the whole board on the base with some M3 screws, but I mess up the measurements and end up with holes too big. Also the bottom plate was harder to drill than I expected, so I ended up using that old friend of everyone: the hot glue gun.
When it comes to the "regular usage" of the device I made the following list of important things to solve and/or take into consideration when designing the logic of the whole system:
While the "no external mods" part is more or less solved with an additional USB connector on the back for power (wasn't sure about hooking the whole thing to the phone line, so I thought an extra 5v USB connector would be the best approach), the other issues took me a little longer until I came up with the following state machine that implements everything I need:
			graph LR
				A(1. WAITING) -- phone-released
microswitch
released --> B(2. OPEN LINE)
				A ---> A

				B -- first input
before X ms --> C(3. BUFFERING)
				B -- more than X ms
without first input --> B
				B -. hanging the phone .-> A

				C -- no new inputs since Y ms --> D(4. DIALING)
				C -- input new number
before Y ms --> C
				C -. hanging the phone .-> A

				D -- output DTMF for each buffered number --> B
				D -. hanging the phone .-> A
With this simple state machine we can:
The idea was to provide the most simplified experience rather than add more buttons and options (which can be done easily: speed dial, extra keys -asterisk, hashtag-, etc.) all while keeping the "visual aspect" as it was.
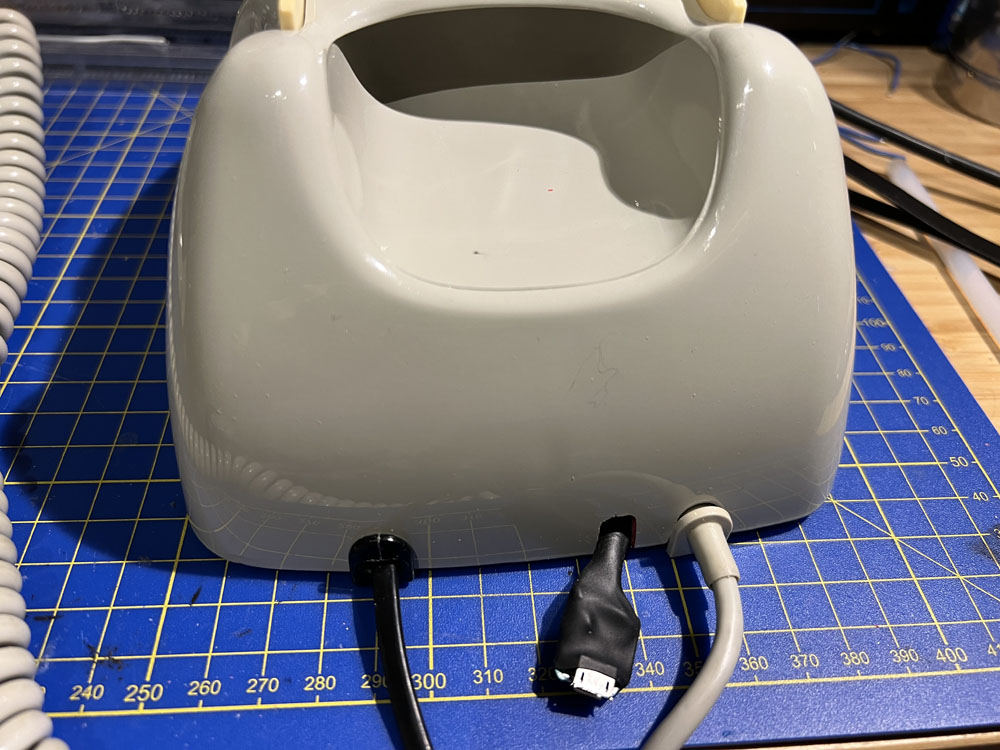
Sadly I needed an external power source, but I'm sure this would be solved in future iterations:
In the meantime I've got a fully functional old phone (I was searching for a red-colored one, but still this one is cool too!), I've learnt lots of things about wavetable synthesis generation and old/modern phone lines, and I made a small simple and cheap board to connect those old devices into the present days.
Available on my github page under the Unlicense.
(schematics and gerber files coming soon...)
I made this thing mostly for personal use, but I was also trying to be as "standard" and "open" as possible (maybe in case I wanted to wire another different phone in the future? who knows...); so I ended up with a bunch of extra functional boards and now I'm thinking about distributing them (maybe even add the whole additional hardware stuff in case someone wants a kit or something similar).
I have no idea how to do that in the most efficient way (maybe a Tindie shop? my own small marketplace?) but if someone is actually interested in owning one of those boards, please reach me out and we'll see! :D
(I'm also available via Twitter or Instagram too!)
(click to enlarge)